(This page is a work in progress as of 03/18/22. Subject to perpetual revision!)
Poser artists have a variety of ways of organizing the assets they’ve collected over the years, because nothing is more frustrating than not being able to find items among one’s treasure trove! There’s no one “right” way to organize everything, only the way that works best for each artist. I tried the method of having separate runtimes for different figures, but I got frustrated when I realized that some textures were being duplicated. For example, if you have an outfit for Dawn and V4 that uses the same textures, whose runtime do they go in?
So I ended up putting everything into one runtime, called My Poser Content, and then organizing the heck out of the Libraries folders. While you should never mess with where Geometries and Textures items get installed, it turns out you can organize Poser’s Libraries any way you want, including storing file types in libraries other than the ones designated for them. So, for example, when I get a prop set, I put all of its lights, poses, cameras, materials, etc. in the same folder with the props, and I put that in the Props library. It all works fine, with a few minor exceptions. One is that with the lights in the Props folder, you don’t get the option to “add to” vs. “replace” when you click on a light set. But I almost always do my own lighting, so that’s not a big deal to me. Another is that if I want to save customized materials for a prop, then I have to use the Materials library, but I set up a section for just that purpose.
It took a while to get my libraries organized in a way that makes sense for me, but it was totally worth it b/c now I know where everything is. And I’ve got a system for manually installing new content that makes it pretty easy.
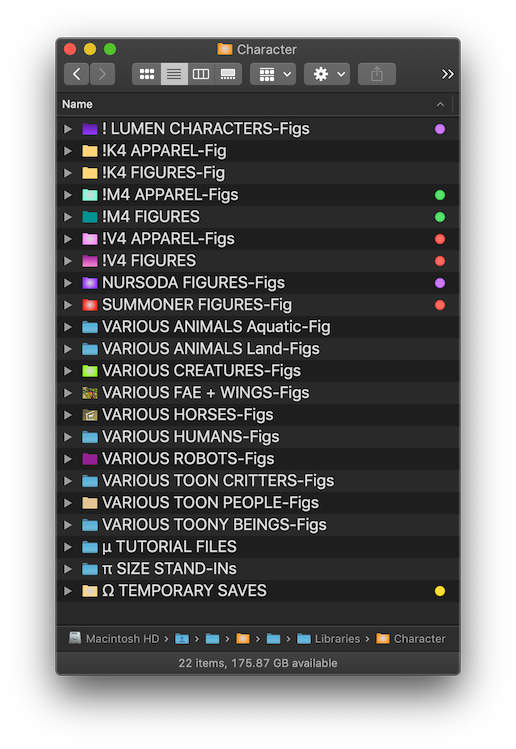
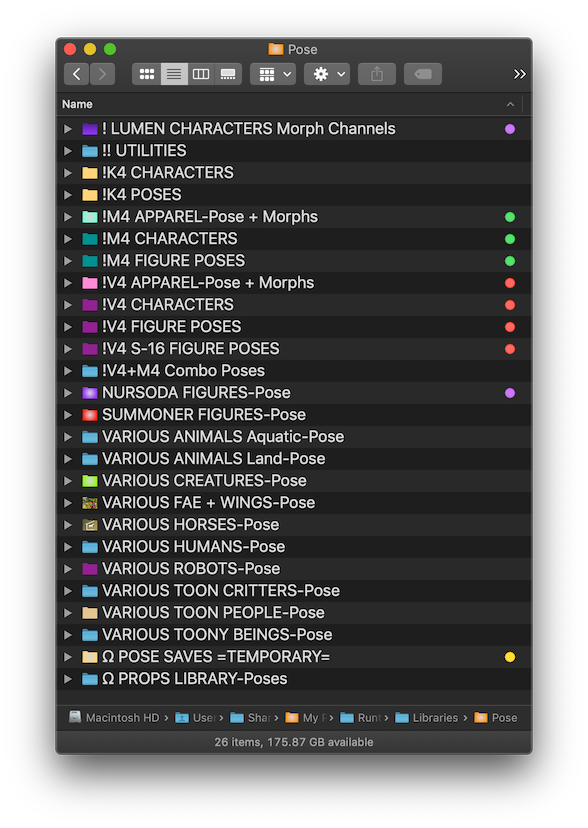
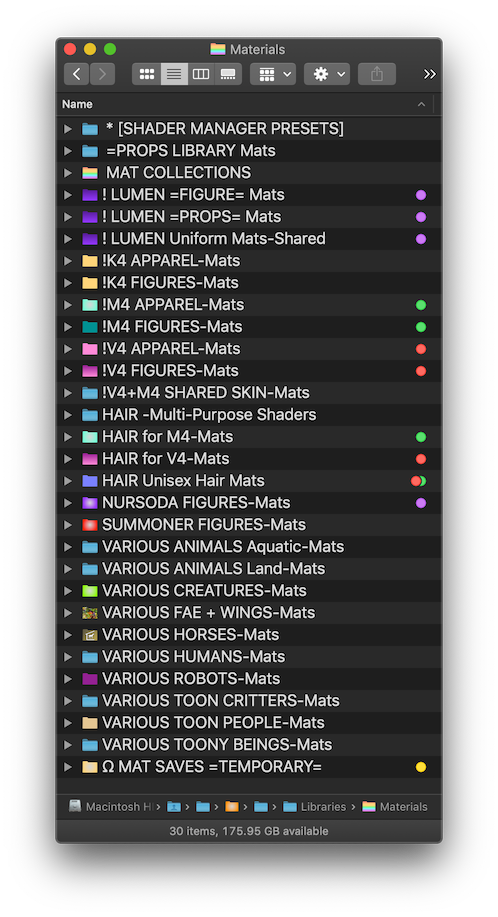
Below I’ve shared some screenshots of my My Poser Content runtime’s library folders, most of which are at the top level, but the organization goes deep into subfolders. As you can see, the folders are also color-coded by topic, and the little dots to the right of the folders are Finder tags, which means I can click on a tag in the Finder and see all items that have been assigned that tag, including both items in the Libraries and items in my separate PROJECTS folder. That makes navigating my runtime much more painless 🙂
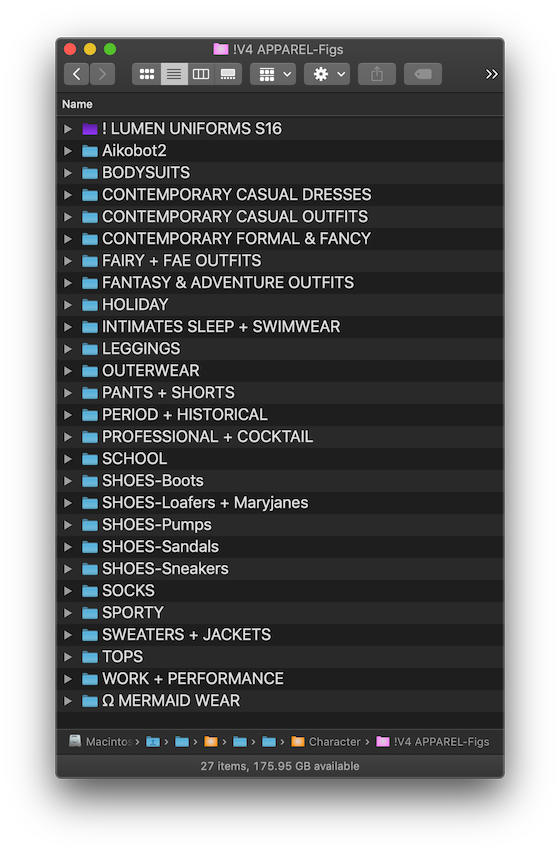
To no one’s great surprise, my V4 APPAREL folder is the largest in my Library, weighing in at over 22GB! Here’s how that folder is further organized:
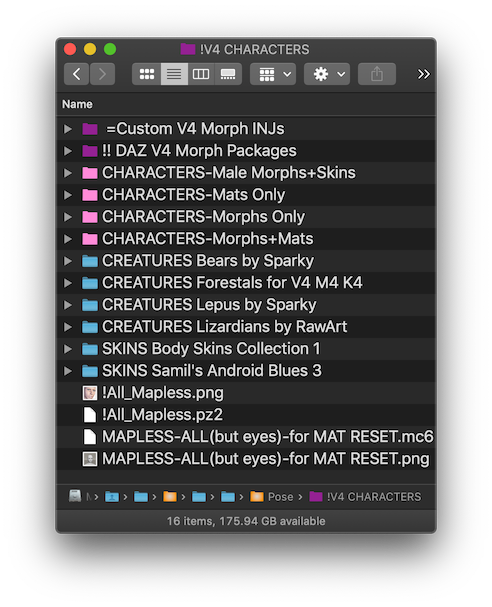
Also to no one’s great surprise, the V4 CHARACTERS folder is the largest one in the Pose library. Here’s how that folder is organized. I have 178 items in the CHARACTERS-Morphs+Mats folder, which is reason enough to never need another human female figure! (The mapless reset files are in this folder rather than Materials b/c I use them when I’m trying out various characters, so this library is already open.)
When you look at my Materials library, maybe now you can guess why I put -Fig and -Pose at the end of the folder names in those libraries and -Mats here. If I click on the V4 tag in the Finder, I’ll see all the folders I’ve tagged for V4, but if the folders didn’t have that extra bit of info in their names, I wouldn’t know which library they were in.
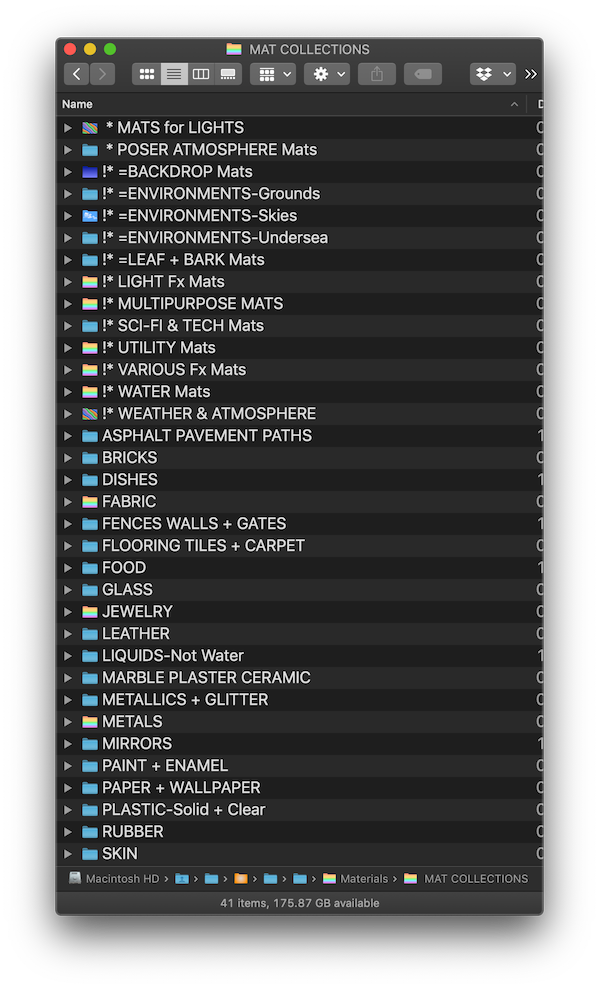
Here are the contents of the MAT COLLECTIONS folder, which is definitely the largest part of my Materials library. The FABRICS and METALS folders are enormous! After SKIN there’s also STONE + ROCK, SUEDE, WAX, and WOOD (they just didn’t fit in the screenshot).
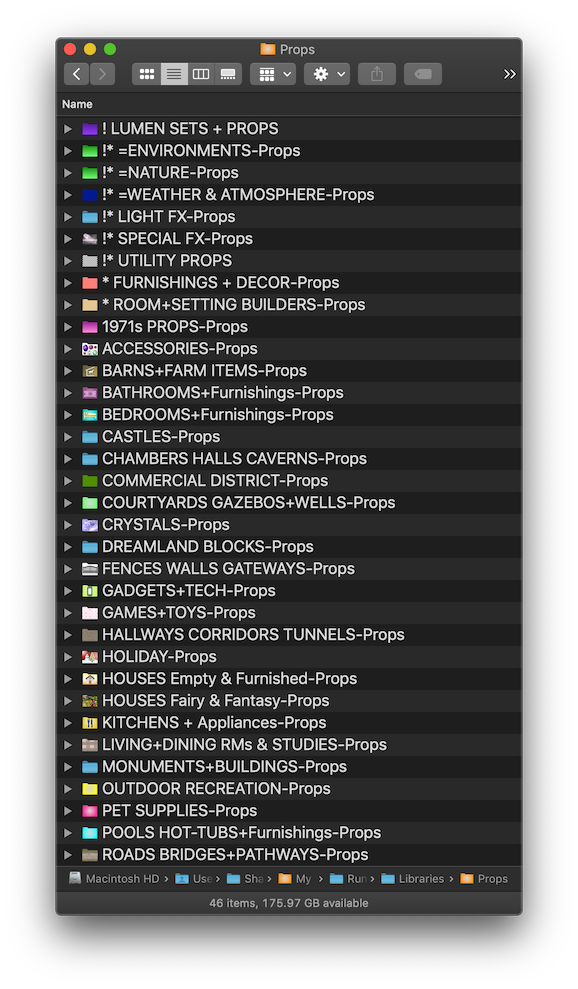
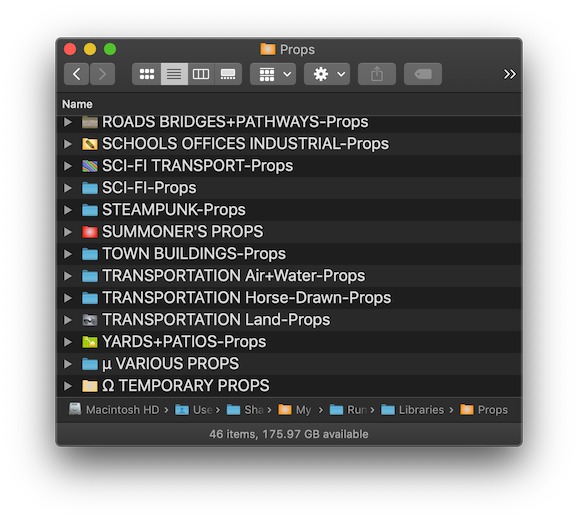
As much as I love all kinds of figures for Poser, I’m particularly addicted to props. The PROPS library is the second largest of my library folders, weighing in at nearly 22GB! The list of folders is so long I had to do two screenshots.
(The reason these folders end in -Props is that there are matching -Projects subfolders in my Props-PROJECTS folder, which is outside of my runtime. I use those folders for doing inventory renders and making modifications to prop sets.)
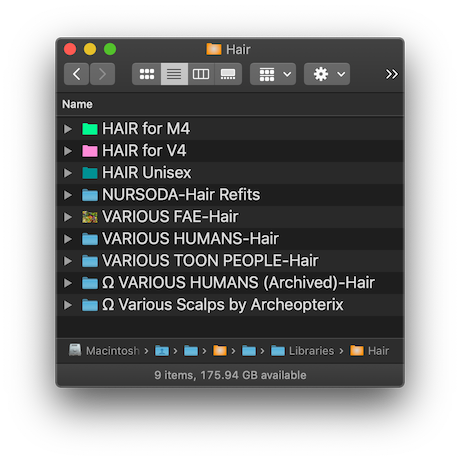
My Hair library seems the simplest at first glance, mainly because I treat all hair as “universal,” meaning that even figure hair can be parented to a different figure and adjusted to fit. So nearly all the “regular human” type hair I have is sorted into the M4 (for male), V4 (for female) folders, or Unisex folders.
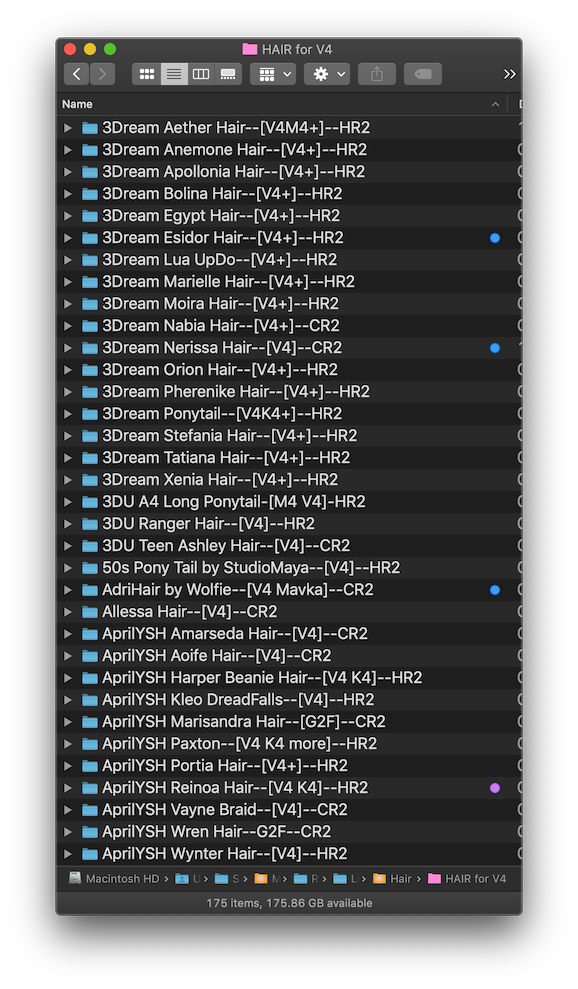
To help me quickly identify a few key details about hair models, I add info to their folder names, like whether it’s a prop or figure and which figure(s) it has fits for. This is just the top portion of my HAIR for V4 subfolder, which has 175 subfolders. Sheesh that’s a lot of hair!
(The blue dot means that the folder has the tag: Hair2Render, meaning that I haven’t yet tried it out, and the purple dot is for a “Lumen Characters” tag, meaning the hair is in use for one of my story characters.)
And now my mission is: try to use at least 50% of this content over the next 5 years! I wish I would also stop buying new stuff, but that’s probably not gonna happen 🙂
A NOTE ON VENDOR NAMING: I understand why vendors package their stuff in folders that feature their names, and I also did that with my freebies, but I don’t keep them that way in my library as that would make it too hard to find everything. I do try to keep the vendor’s name in the folder name, when possible, to make it easier to credit them when I make a scene. (Otherwise I have to look for the name of their Textures folder, or if that’s the product rather than vendor name, I resort to searching my collection of readme files!)
So there you go. More than anyone ever wanted to know about how one Poser artist organized her libraries 🙂